This tutorial will show you how to create a barebones Rails app with Devise and Foundation. Our application will have user registration and login capabilities using the Devise gem. I’m also going to use the Rails Foundation gem for the UI.
I’m using Windows 8 so some commands may differ depending on your operating system. I’m also assuming that you already have Ruby and Rails installed. If not check out the guides for Ruby and Rails to install them. My Version of Ruby is ruby 1.9.3 and my rails version is Rails 4.0.2.
First off open a command prompt and cd to your working directory. Now we we will run the rails command to genearate a new project. This will create our rails application structure and also bundle installs the required gems.
rails new rails_devise_user
Once the application is created switch into the application directory.
cd rails_devise_user
First we’ll check that everything went okay by opening the application in our browser window. To do this we run the following command, from inside the new project folder, using the command prompt.
rails server
Now go to http://localhost:3000 in you browser and you should see the following screen. This is the Rails default information page. It lets us know that are application has been installed correctly and also shows information about the application’s environment.
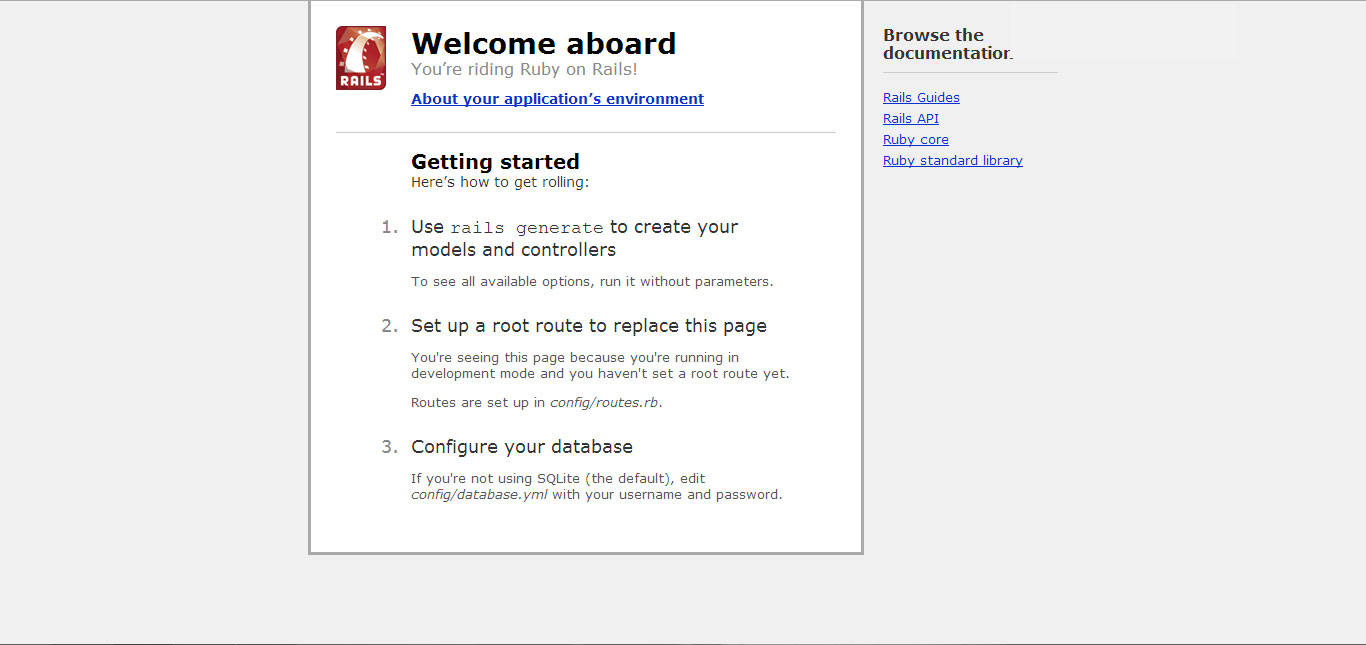
Next we will create a home page for our application which will replace the Rails default landing page. We’ll create a new controller called home which will have just one method called index. Run the following command from the command prompt.
rails generate controller home index
This will create a numbers of files and a route for our new controller. The files that we will be looking at are app/controllers/home_controller.rb and app/views/home/index.html.erb.
If we open app/views/home/index.html.erb and replace all the code with the following snippet of code.
<h2>Hello World</h2>
The time is now: <%= Time.now %>
Now we’ll set this view to show when the root url is accessed through the browser. To do this we need to update the root url in the config/routes.rb file. This file tells Rails what to do with incoming requests and what controllers/methods to match the requested URL with. Look for the commented outline that looks like
# root 'welcome#index'Uncomment this line by removing the # and change it to the following.
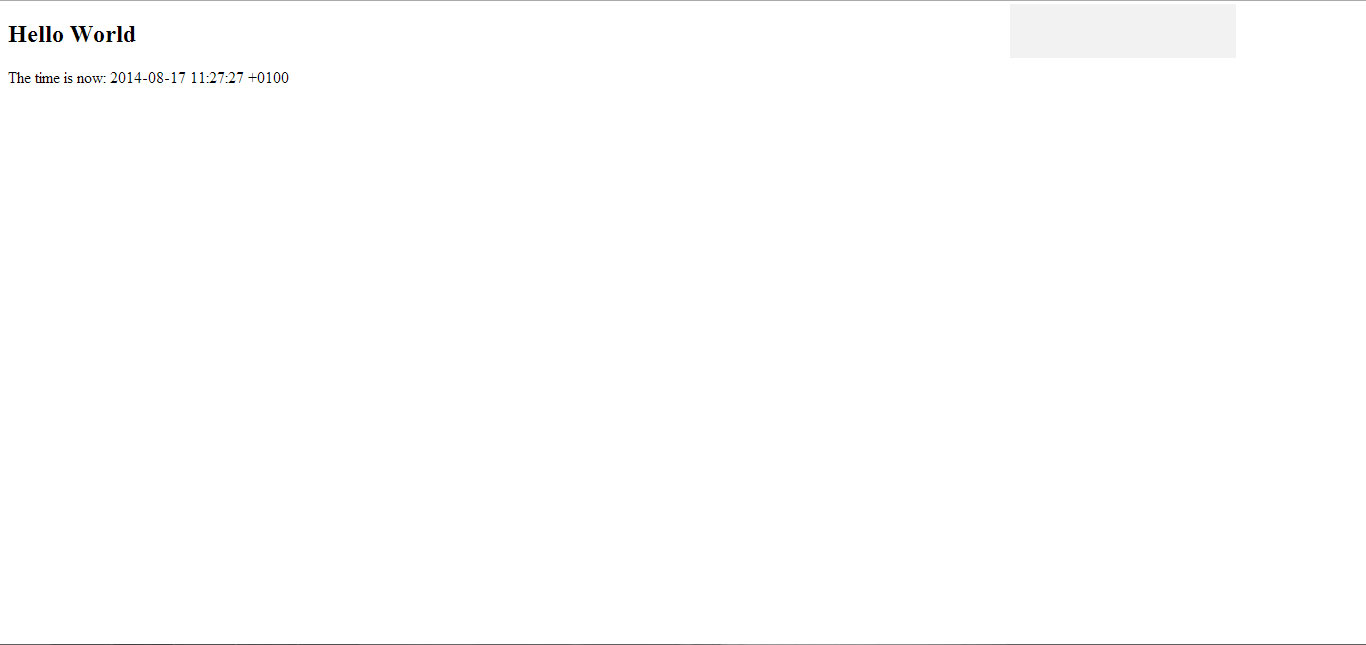
root 'home#index'You should now see something like the screenshot below when you go back to your browser and navigate to http://localhost:3000
Now that the application is up and running we’ll look at installing the Foundation Rails gem for our UI.
Firstly we’ll add the required gem to our gemfile.rb file in the root of our application.
gem 'foundation-rails'Save gemfile.rb and go back to the open command prompt and run
bundle
Next we configure Foundation by running the following command in the command prompt.
rails g foundation:install
You may be asked if you wish to overwrite the application.html.erb file in the views folder, just type y into the console and this will overwrite the existing application.html.erb. The updated application.html.erb will now have our includes to our Foundation CSS and JS files and also to theModernizr JS file.
The newly updated application.html.erb file.
    <%= stylesheet_link_tag    "application" %>
    <%= javascript_include_tag "vendor/modernizr" %>
    <%= csrf_meta_tags %>


    <%= yield %>
    <%= javascript_include_tag "application" %>
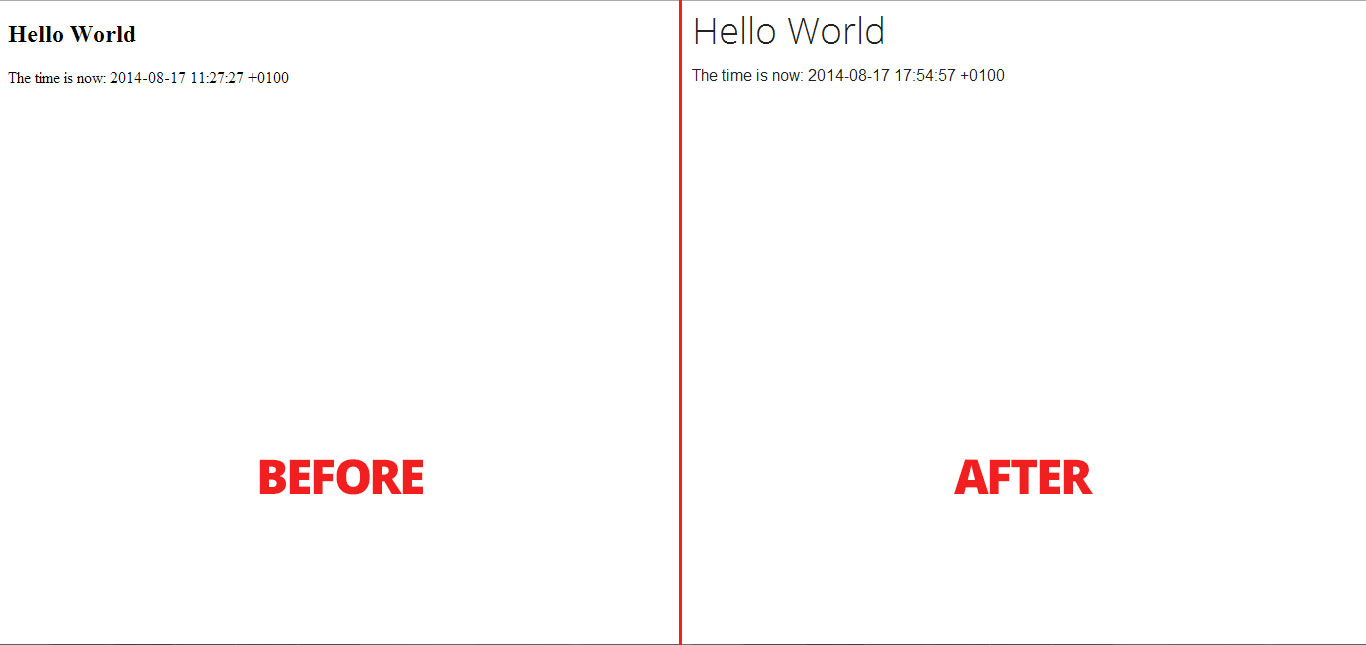
If we go back to our browser and refresh our page you should see the changes below.
We will add the standard Foundation Top Bar to our application for our header and navigation using a Rails partial. Create a new file within our app/views/layouts folder called _nav.html.erb. We will include partial file into the application.html.erb file.
Add the following code to the newly created _nav.html.erb file.
<nav class="top-bar" data-topbar="">
<ul class="title-area">
 	<li style="list-style-type: none;">
<ul class="title-area">
 	<li class="name">
<h1><%= link_to('Our App Logo', root_url) %></h1>
</li>
</ul>
</li>
</ul>
<ul class="title-area">
 	<li class="toggle-topbar menu-icon"><a href="#">Menu</a></li>
</ul>
<section class="top-bar-section"><!-- Right Nav Section -->
<ul class="right">
 	<li><%= link_to('Login') %></li>
 	<li><%= link_to('Register') %></li>
</ul>
<!-- Left Nav Section -->
<ul class="left">
 	<li></li>
 	<li><%= link_to('Home', root_url) %></li>
</ul>
</section></nav>
To include the partial into our application layout add the following line of code into the application.html.erb file after the opening tag.
<%= render 'layouts/nav' %>
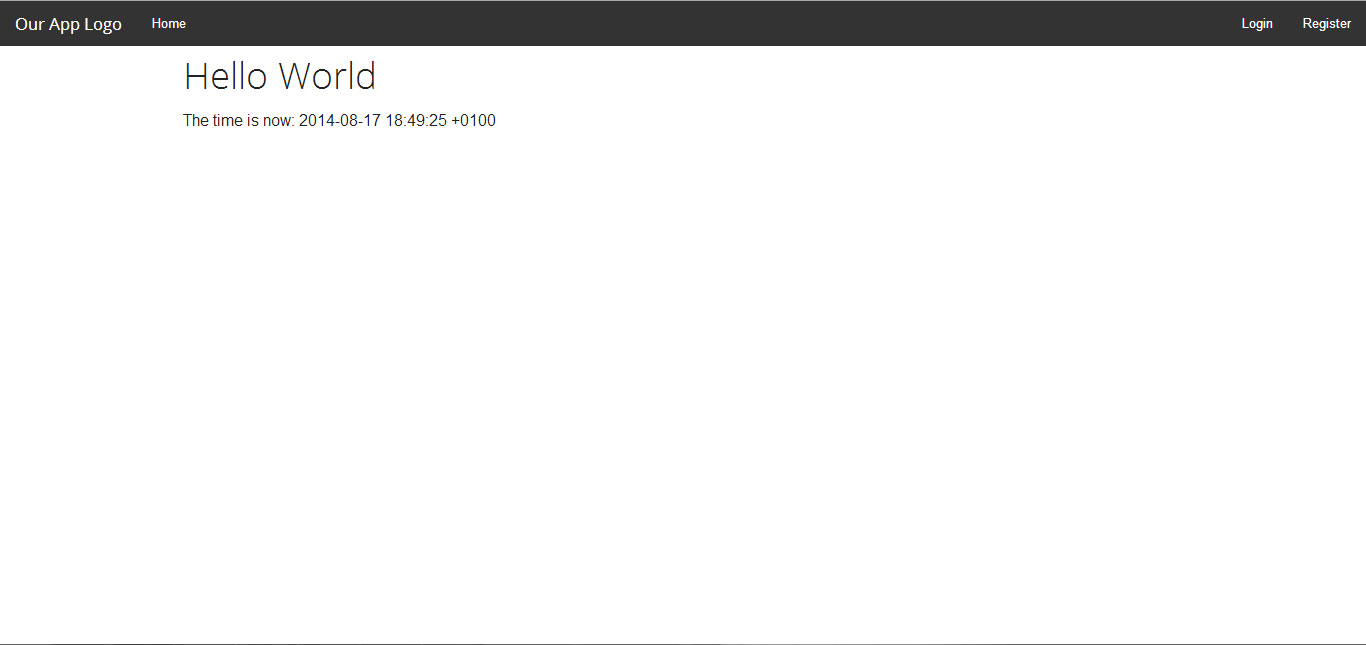
Once we save the application.html.erb and _nav.html.erb files go back to your browser and refresh the page. We now have a header with a Header/Logo area, and links to home, login and register. The Login and Register links will not work just yet as we have not yet created these pages.
The last change to the application.html.erb will be to create a containing div element around our <%= yield %> tag.
Replace
<%= yield %>
with
<div class="row"><%= yield %></div>
Our application should now look like the screenshot below.
That Foundation up and running and the basic page structure for our page done. We’ll move onto getting up and running with Devise.
Open up gemfile.rb and add
gem 'devise'
Now go back to the command prompt and run
bundle install
Now we need to run the Devise generator in the command prompt.
rails generate devise:install
The generator installs an initializer which describes configuration options for Devise. To ensure you have defined default url options in your environments files, open config/environments/developement.rb and add the following line just before end at he bottom of the file.
#  Ensure you have defined default url options in your environments files.
#  Here is an example of default_url_options appropriate for a development environment
config.action_mailer.default_url_options = { :host => 'localhost:3000' }
We have already done step 2 when we set our root URL earlier. For step 3 open up app/views/layouts/applications.html.erb and add the following code within our <div class="row">.
<% if notice %>
<p class="alert-box success radius"><%= notice %></p>

<% end %>
<% if alert %>
<p class="alert-box warning radius"><%= alert %></p>

<% end %>
I’m not going to make any changes for step 4 as I’m not going to deploy this to Heroku and I’m running Rails 4.0.2. The last step will install our Devise views, so our login and registration forms as well as a forgot password form. In the command prompt run
rails g devise:views
As you can see this command will create a new folder in app/views for the Devise view templates. We will look at these again later once we have the User model set up. To do this we will run the following command from the command prompt.
rails generate devise User
This will create our database migration, our User model, some test unit files and the routes for our User. Now we need to run our database migration from our command prompt.
rake db:migrate
Now we’ll update our app/views/layouts/_nav.html.erb partial so we can link to the login and register pages that Devise has created for us. Replace the links for Login and Register with the following.
<ul>
 	<li><%= link_to('Login', new_user_session_path) %></li>
 	<li><%= link_to('Register', new_user_registration_path) %></li>
</ul>
Now go back to your browser and refresh the page. The Login and Register links will now open forms for each. Navigate to the Register page and add a new user. Once you’ve submitted the form you should be redirected back to the home page where you’ll see a success message “Welcome! You have signed up successfully.”. It will also sign us in automagically after we Register.
To check if a user is signed in we can use the Devise method user_signed_in?. Let’s update our app/views/layouts/_nav.html.erb again to use this method.
Replace
<ul class="right">
 	<li><%= link_to('Login', new_user_session_path) %></li>
 	<li><%= link_to('Register', new_user_registration_path) %></li>
</ul>
with
<ul class="right">
 	<li style="list-style-type: none;">
<ul class="right"><% if user_signed_in? %>
 	<li class="has-dropdown"><a href="#">Settings</a>
<ul class="dropdown">
 	<li><%= link_to('Edit account', edit_user_registration_path(current_user)) %></li>
</ul>
</li>
 	<li><%= link_to('Logout', destroy_user_session_path, :method => :delete) %></li>
</ul>
</li>
</ul>
<% else %>
<ul class="right">
 	<li style="list-style-type: none;">
<ul class="right">
 	<li><%= link_to('Login', new_user_session_path) %></li>
 	<li><%= link_to('Register', new_user_registration_path) %></li>
</ul>
</li>
</ul>
<% end %>
Here I have updated the navigation to only show the Login and Register links if a user is not logged in. When a user is logged in we’ll show links to edit the user and to log out. Both of these routes are created by Devise.
We now have a working User module for our application with Sign Up, Log in, Log out and Forgot Password capabilities.
Now that it is working we’ll update our Devise views. The next blocks of code are simply adding presentation markup to our Devise views.
Replace everything in app/views/devise/registrations/new.html.erb with the following and save it.
<div class="small-8 large-offset-2">
<h2>Register</h2>
<h4 class="subheader">Fill out the form below to sign up.</h4>

<hr />

<%= form_for(resource, :as => resource_name, :url => registration_path(resource_name)) do |f| %> <%= devise_error_messages! %>
<div class="row">
<div class="small-3 columns"><%= f.label :email, :class => 'right inline' %></div>
<div class="small-9 columns"><%= f.email_field :email %></div>
</div>
<div class="row">
<div class="small-3 columns"><%= f.label :password, :class => 'right inline' %></div>
<div class="small-9 columns"><%= f.password_field :password %></div>
</div>
<div class="row">
<div class="small-3 columns"><%= f.label :password_confirmation, :class => 'right inline' %></div>
<div class="small-9 columns"><%= f.password_field :password_confirmation %></div>
</div>
<div class="small-9 columns small-offset-3"><%= f.submit "Sign up", :class => 'button' %></div>
<div class="small-9 columns small-offset-3"><%= render "devise/shared/links" %></div>
<% end %>

</div>
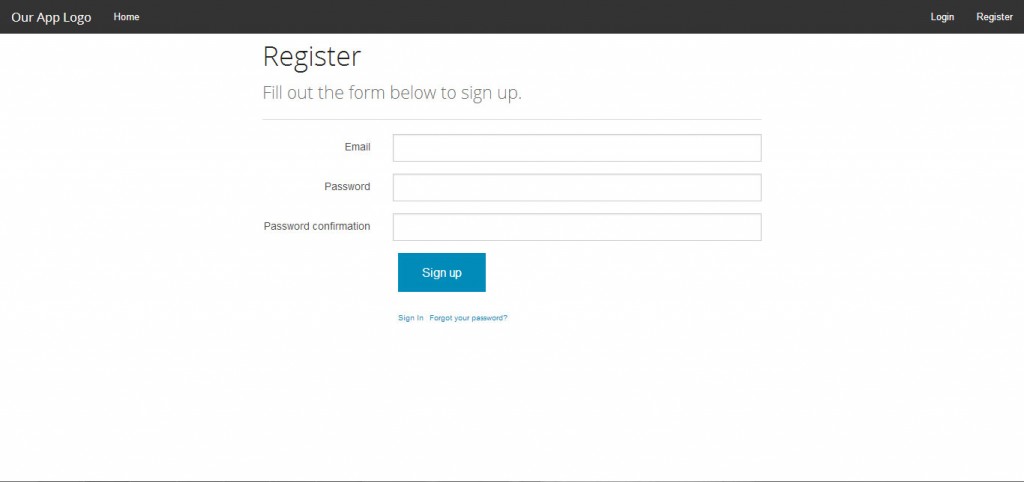
Replace everything in app/views/devise/registrations/edit.html.erb with the following and save it.
<div class="small-8 large-offset-2">
<h2>Edit <%= resource_name.to_s.humanize %></h2>
<h4 class="subheader">Update your details below.</h4>

<hr />

<%= form_for(resource, :as => resource_name, :url => registration_path(resource_name), :html => { :method => :put }) do |f| %> <%= devise_error_messages! %>
<div class="row">
<div class="small-3 columns"><%= f.label :email, :class => 'right inline' %></div>
<div class="small-9 columns"><%= f.email_field :email %></div>
</div>
<% if devise_mapping.confirmable? && resource.pending_reconfirmation? %>
<div>Currently waiting confirmation for: <%= resource.unconfirmed_email %></div>
<% end %>
<div class="row">
<div class="small-3 columns"><%= f.label :password, :class => 'right inline' %></div>
<div class="small-9 columns"><%= f.password_field :password, :autocomplete => "off", :placeholder => '(leave blank if you don\'t want to change it)' %></div>
</div>
<div class="row">
<div class="small-3 columns"><%= f.label :password_confirmation, :class => 'right inline' %></div>
<div class="small-9 columns"><%= f.password_field :password_confirmation %></div>
</div>
<div class="row">
<div class="small-3 columns"><%= f.label :current_password, :class => 'right inline' %></div>
<div class="small-9 columns"><%= f.password_field :current_password, :placeholder => '(we need your current password to confirm your changes)' %></div>
</div>
<div class="small-9 columns small-offset-3"><%= f.submit "Update", :class => 'button' %></div>
<% end %>
<h3>Cancel my account</h3>
<div class="row">
<div class="small-3 columns"><label class="right inline">Unhappy?</label></div>
<div class="small-9 columns">

<%= button_to "Cancel my account", registration_path(resource_name), :data => { :confirm => "Are you sure?" }, :method => :delete, :class => 'button alert' %>

</div>
</div>
<%= link_to "Back", :back %>

</div>
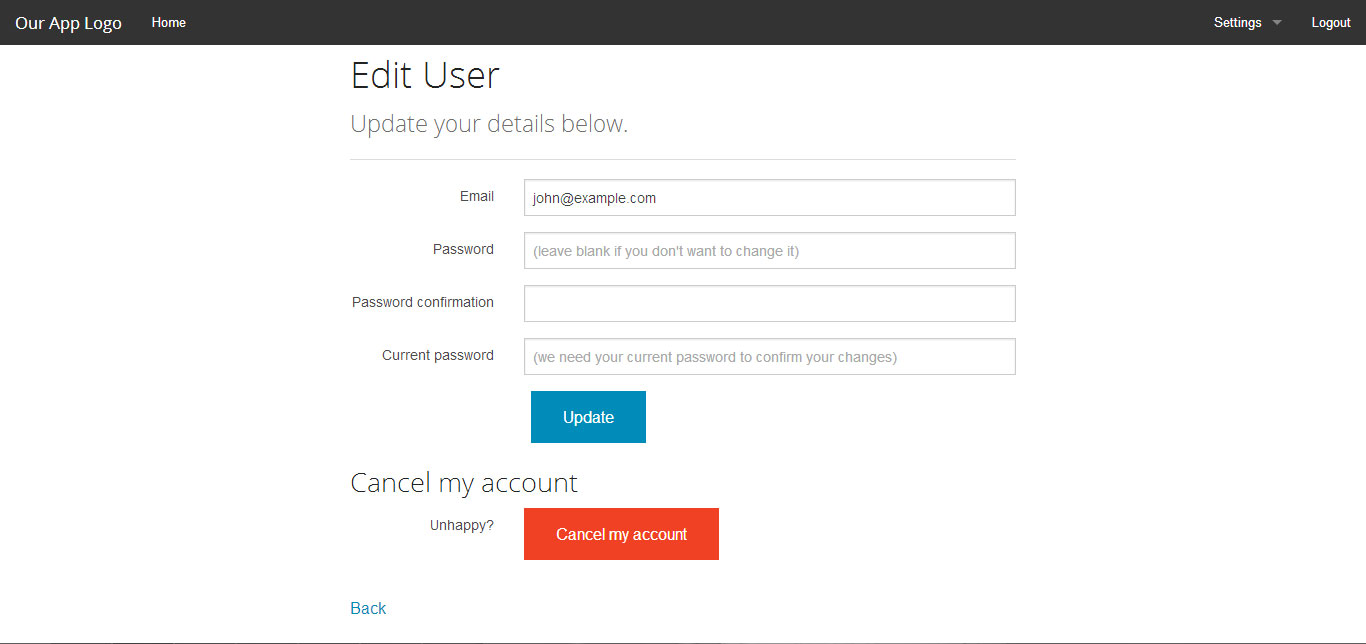
Replace everything in app/views/devise/sessions/new.html.erb with the following and save it.
<div class="small-8 large-offset-2">
<h2>Sign in</h2>
<h4 class="subheader">Log in to see more.</h4>

<hr />

<%= form_for(resource, :as => resource_name, :url => session_path(resource_name)) do |f| %>
<div class="row">
<div class="small-3 columns"><%= f.label :email, :class => 'right inline' %></div>
<div class="small-9 columns"><%= f.email_field :email, :autofocus => true %></div>
</div>
<div class="row">
<div class="small-3 columns"><%= f.label :password, :class => 'right inline' %></div>
<div class="small-9 columns"><%= f.password_field :password %></div>
</div>
<% if devise_mapping.rememberable? -%>
<div class="small-9 columns small-offset-3"><%= f.check_box :remember_me %> <%= f.label :remember_me %></div>
<% end -%>
<div class="small-9 columns small-offset-3"><%= f.submit "Sign in", :class => 'button' %></div>
<div class="small-9 columns small-offset-3"><%= render "devise/shared/links" %></div>
</div>
  <% end %>
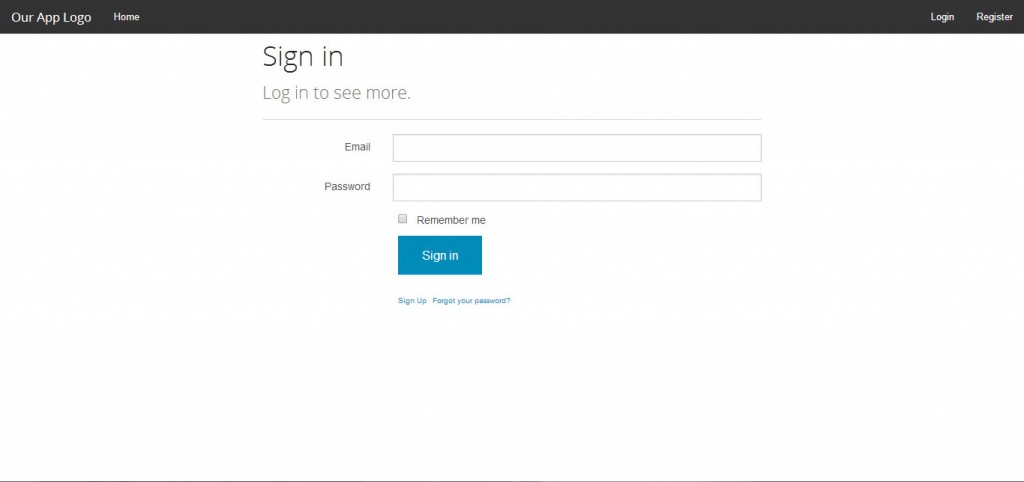
You can find the other Devise views updated on the Github repo. There are a few improvements that could be made such as allowing users to enter a username in the sign up field and allow for either email or username to login with. I have another project on my Github that has some of these improvements already, feel free to check it out.
Get the full source code for this on Github
**This example could be a good starting point for building an application but is by no means production ready.
